
在上一篇文章里,我们完成了APP的代码编写,下面是如何部署到开发环境
先给写好的代码安装依赖
# 根目录安装
npm install

# 进入扩展目录安装
cd extensions/cart-price-adjustment
npm install
cd ../..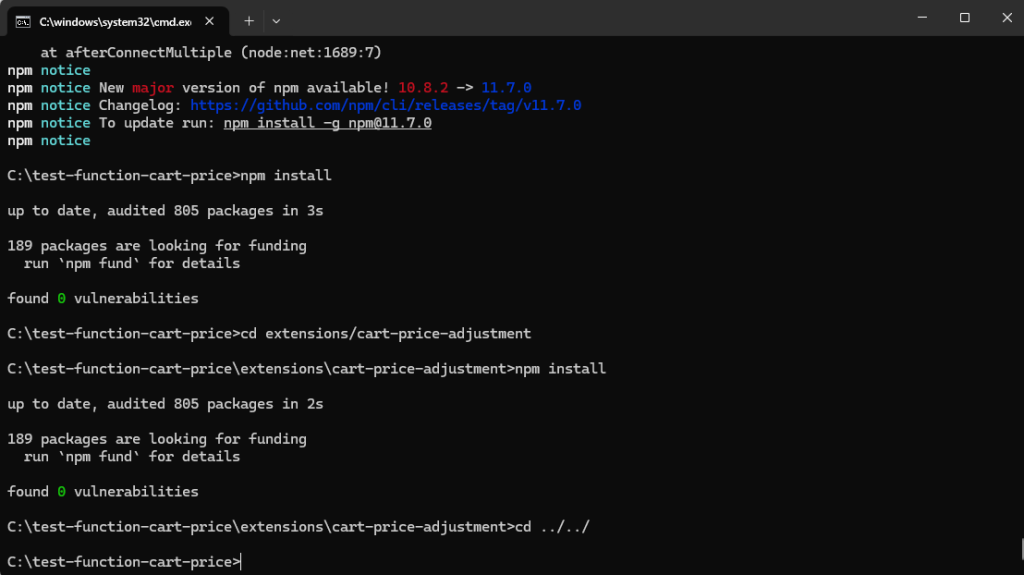
下面是准备链接shopify,登录shopify的开发者店铺,由于我这边本地环境的vpn不稳定,所以我下面的操作是把本地的代码先部署到github,如果你们本地网络环境本身就是海外网络或者是在云服务器的,可以忽略这个步骤
部署GitHub Codespaces
步骤 1 - 初始化 Git 并推送到 GitHub:
cd C:\test-function-cart-price
git init
git add .
git commit -m "Initial commit - test function cart price"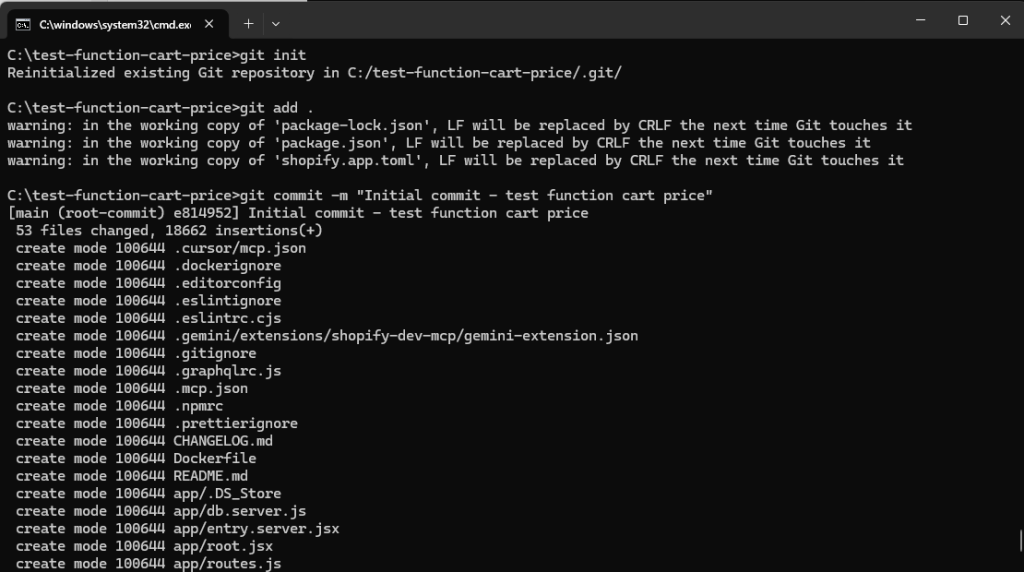
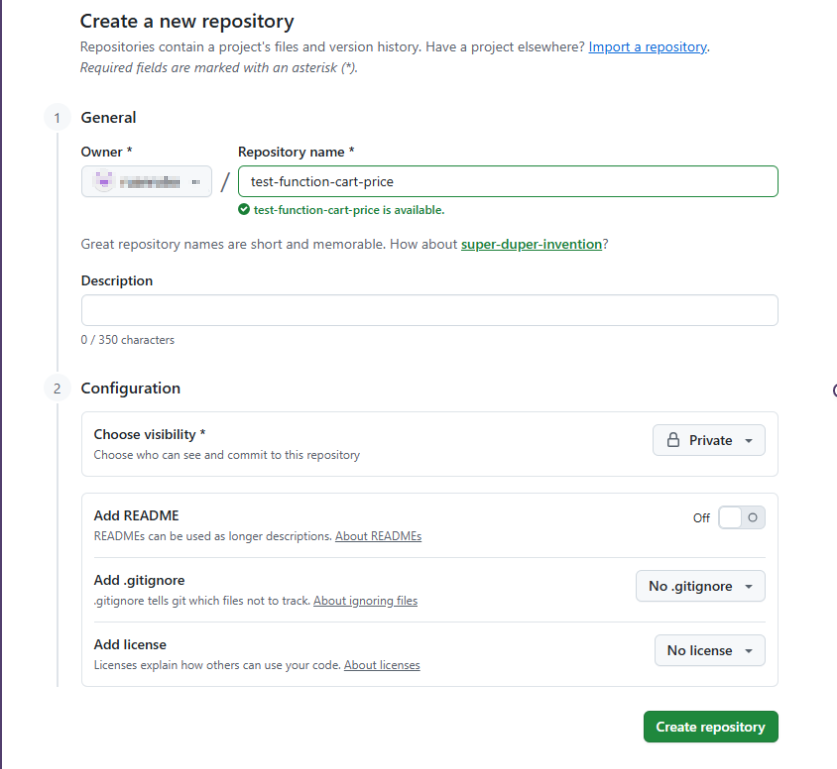
步骤 2 - 在 GitHub 创建仓库:
- 访问 https://github.com/new
- Repository name:
test-function-cart-price - 选择 Private(私有仓库)
- 不要勾选任何初始化选项
- 点击 "Create repository"
步骤 3 - 推送代码到 GitHub:
复制 GitHub 显示的命令,或运行:
git remote add origin https://github.com/你的仓库名称/test-function-cart-price.git
git branch -M main
git push -u origin main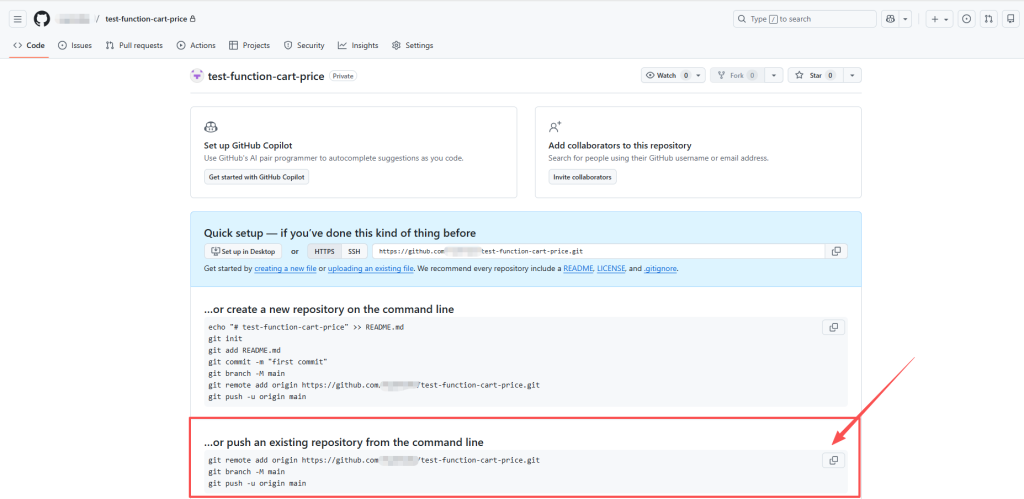

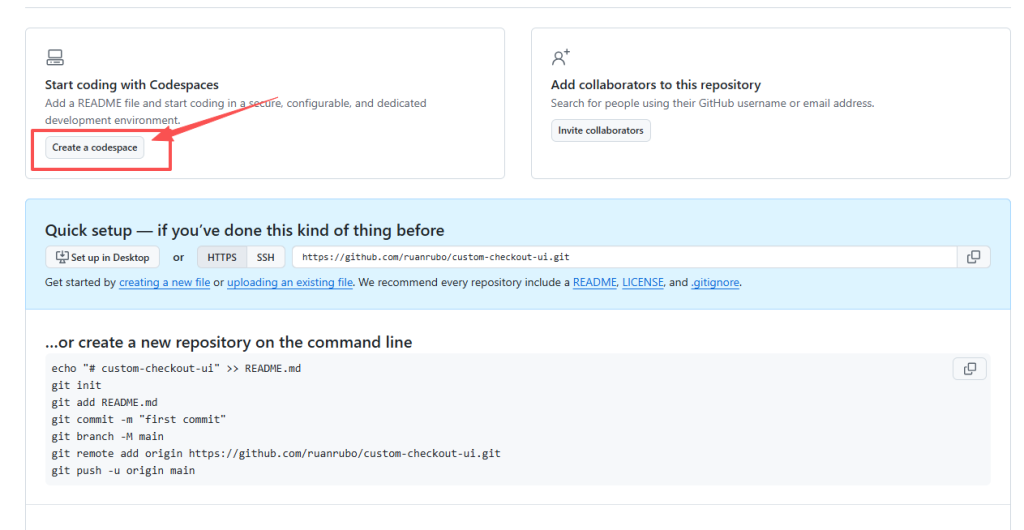
步骤 4 - 创建 Codespace:
- 在 GitHub 仓库页面,点击绿色的 "Code" 按钮
- 选择 "Codespaces" 标签
- 点击 "Create codespace on main"
- 等待 1-2 分钟,Codespace 会自动启动

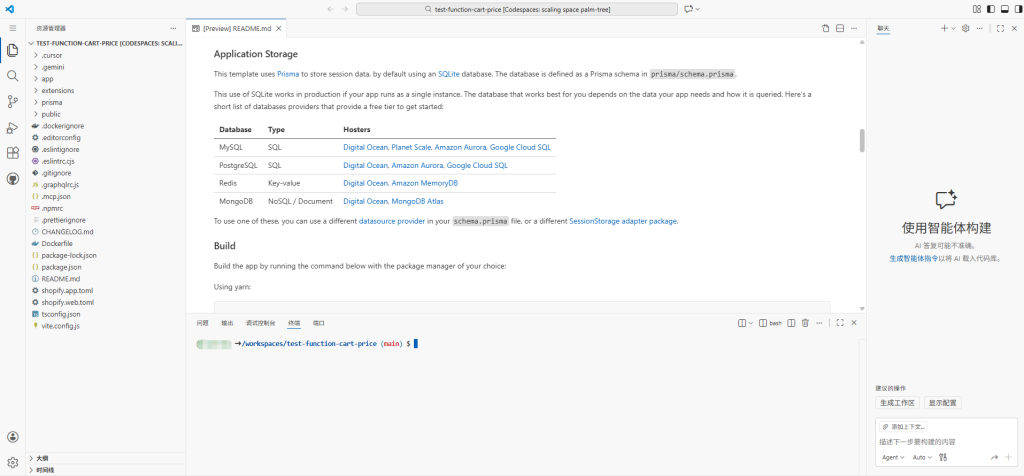
步骤 5 - 在 Codespace 中运行:
Codespace 启动后,在终端中运行:
npm install -g @shopify/cli @shopify/app
先在Codespace安装shopify cli环境,不然无法使用shopify的命令
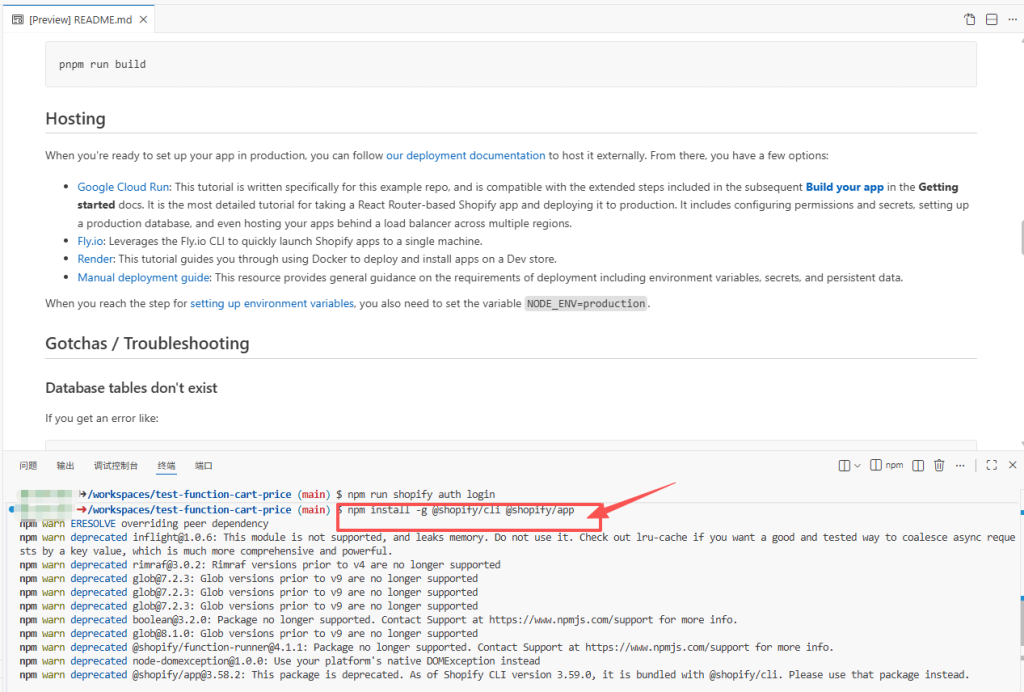
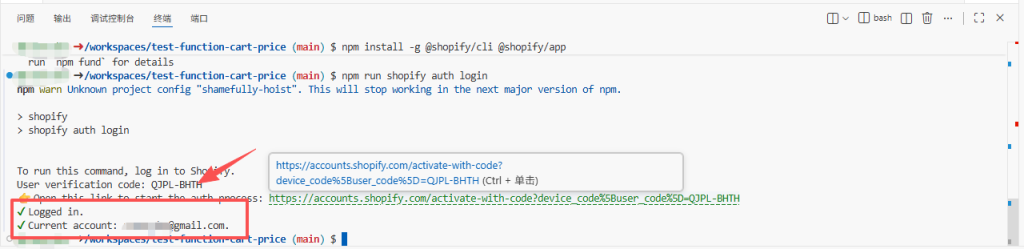
npm run shopify auth login登录shopify的店铺,运行上面的命令后,会生成一个登录店铺的链接

点击链接,输入你的合作伙伴的账户和密码后,会生成一个验证码
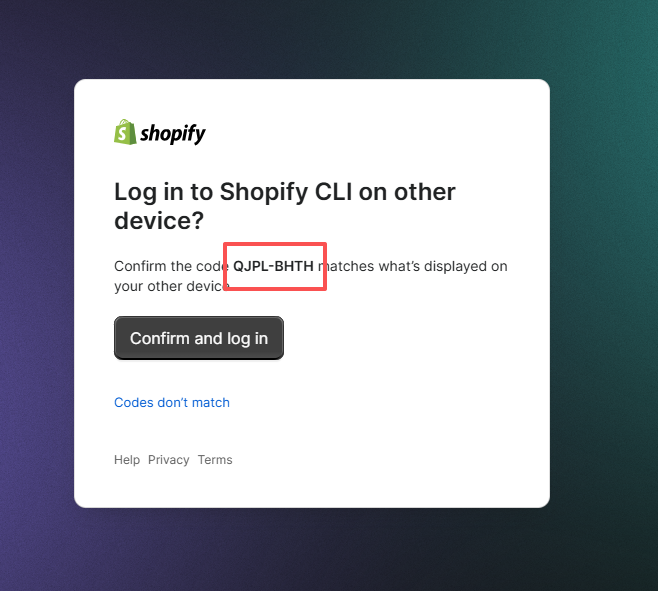
完成验证后,回到Codespace终端,你会发现提示你完成登录了
连接到你的开发店铺
shopify app config link
# 部署应用和 Function
shopify app deploy
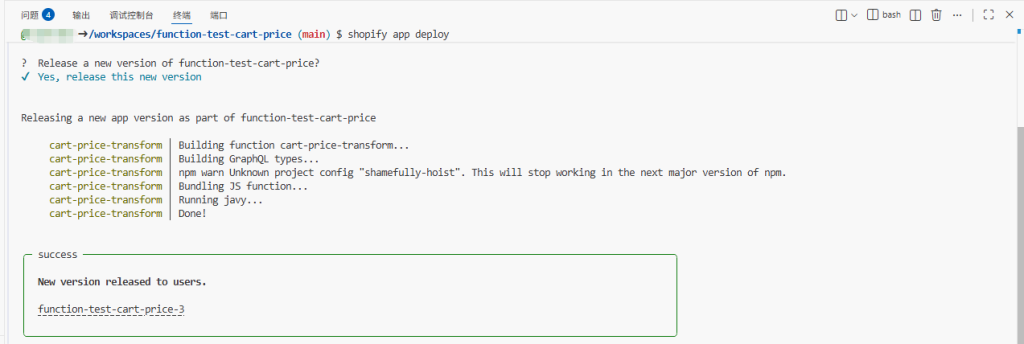
到此,function应用成功部署到合作伙伴开发者店铺中了
因为上面是从本地部署,然后转到Codespaces部署的,环境可能发现变化,导致一直无法部署的话,可以尝试下面完全从Codespaces部署的方案。
1.创建Create a new repository
2.创建Codespaces
3.开发步骤
# 安装 Shopify CLI
npm install -g @shopify/cli @shopify/app

# 创建 Shopify Function 应用
shopify app init

# 选择:
# - Language: JavaScript
# - Template: Cart Transform
创建 Cart Transform Function
cd extensions
shopify app generate extension --type cart_transform --name cart-price-transform
核心代码文件
extensions/cart-price-transform/src/cart_transform_run.js
// @ts-check

/**
 * @typedef {import("../generated/api").CartTransformRunInput} CartTransformRunInput
 * @typedef {import("../generated/api").CartTransformRunResult} CartTransformRunResult
 */

/**
 * @type {CartTransformRunResult}
 */
const NO_CHANGES = {
  operations: [],
};

/**
 * @param {CartTransformRunInput} input
 * @returns {CartTransformRunResult}
 */
export function cartTransformRun(input) {
  const operations = [];

  // 遍历购物车中的每个商品
  input.cart.lines.forEach((line) => {
    // 检查是否有 _custom_cart_price 属性
    const customPriceAttr = line.attribute?.find(
      (attr) => attr.key === "_custom_cart_price"
    );

    if (!customPriceAttr || !customPriceAttr.value) {
      return; // 没有自定义价格,跳过
    }

    // 解析自定义价格
    const customPrice = parseFloat(customPriceAttr.value);

    if (isNaN(customPrice) || customPrice < 0) {
      return; // 无效价格,跳过
    }

    // 获取当前商品价格
    const currentPrice = parseFloat(line.cost.amountPerQuantity.amount);

    // 计算价格差异
    const priceDifference = currentPrice - customPrice;

    if (priceDifference <= 0) {
      return; // 自定义价格不低于原价,跳过
    }

    // 创建价格更新操作
    operations.push({
      update: {
        cartLineId: line.id,
        price: {
          adjustment: {
            fixedPricePerUnit: {
              amount: customPrice.toFixed(2),
            },
          },
        },
      },
    });
  });

  if (operations.length === 0) {
    return NO_CHANGES;
  }

  return {
    operations: operations,
  };
};
extensions/cart-price-transform/src/cart_transform_run.graphql
query CartTransformRunInput {
  cart {
    lines {
      id
      quantity
      cost {
        amountPerQuantity {
          amount
        }
      }
      attribute(key: "_custom_cart_price") {
        key
        value
      }
    }
  }
}
shopify.app.toml,这个文件只增加权限write_cart_transforms即可,其他代码不动
[access_scopes]
# Learn more at https://shopify.dev/docs/apps/tools/cli/configuration#access_scopes
scopes = "write_products,write_cart_transforms"
Codespaces 部署命令
# 在 Codespaces 中登录 Shopify
shopify auth login

# 连接到你的开发店铺
shopify app config link

# 部署应用和 Function
shopify app deploy
完成!!!!!!
下一篇我们学习如何把function应用安装到我们的店铺中